Air fryers look like the easiest appliance to own. They require minimal oil, cook quickly, and require minimal maintenance. While that holds, if you don’t take proper care of your air fryer, it can start acting up. Smoke can start coming up, the machine just won’t turn on, or the food cooks unevenly, even though you haven’t changed a thing.
To avoid any of these bigger issues, you have to take care of your air fryer and maintain it over time. Most air fryer issues fall into three categories: hidden grease buildup, misunderstood safety mechanisms, and incorrect time–temperature use. None of these requires special tools or immediate servicing, but they do require knowing what’s actually happening inside the machine.
After reviewing and testing a bunch of air fryers, here’s our guide, which breaks down the most common air fryer issues and tells you how to fix them easily.
Why Your Air Fryer Smokes
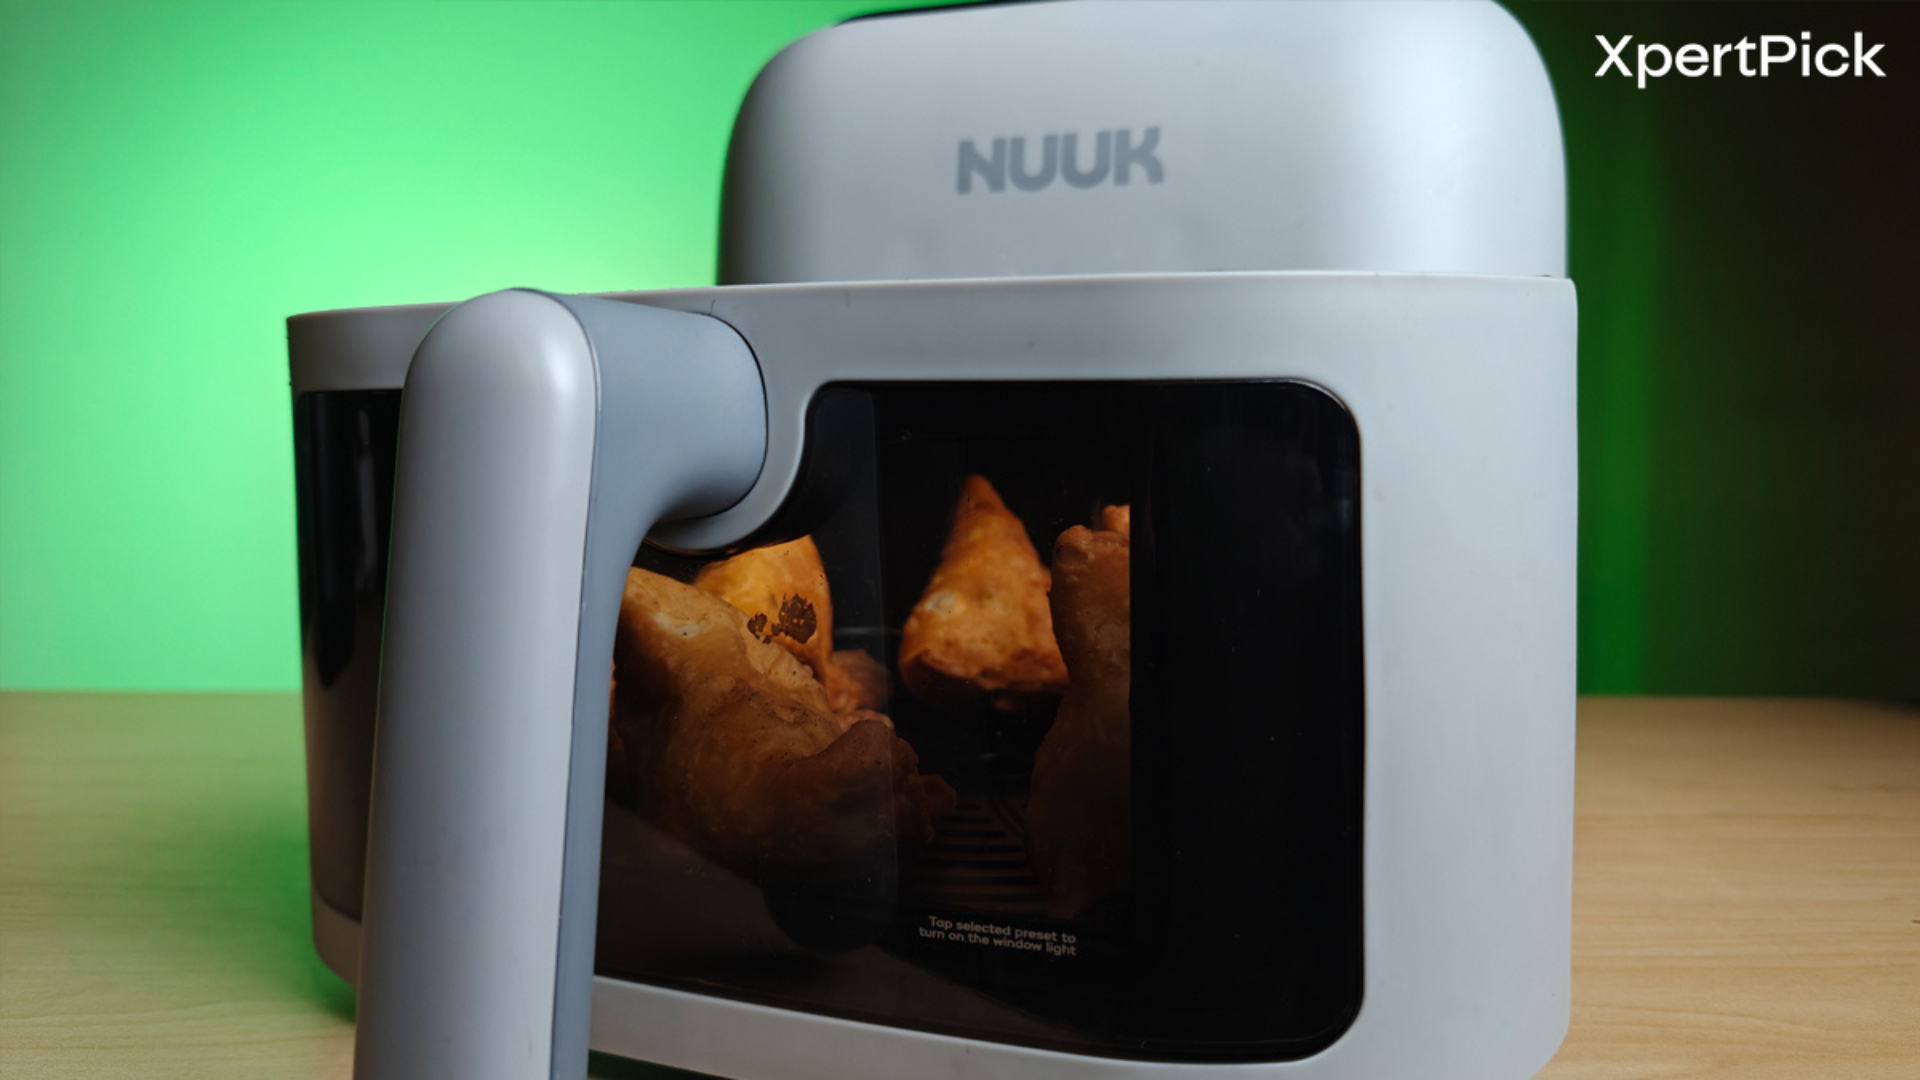
This is the most common issue people encounter with their air fryers. And you might be quick to blame oil, food quality, or electrical faults, but the issue is far simpler. It happens mostly due to grease accumulation near the heating element.
As you know, air fryers cook food by circulating extremely hot air at high speed. When you cook oily or marinated food like samosas, chicken wings, kebabs, nuggets, etc., tiny drops of fat rise upwards with the airflow. Over time and use, these droplets stick to the inner roof and grease the heating element. Imagine how grease gets stuck to our kitchen chimneys; this is something similar.
Now, you don’t see this, but once enough grease builds up, it reheats and burns every time the air fryer runs, causing:
- Smoke during cooking
- A burnt smell that lingers
- Food tastes stale even at the correct settings
How To Clean the Heating Element
Unlike the basket of the air fryer, the heating element doesn’t really look dirty; that’s why most people ignore it, but it is important to routinely clean it properly. It also fixes the smoking problems almost immediately.
The Upside-Down Cleaning Method
Using this method, you can easily access the interior roof without opening the air fryer or risking any damage. But before you begin, make sure that the appliance is unplugged and that it is cooled down completely.
What you need:
- A soft cloth or microfiber towel
- Warm water with a small amount of dish soap
- A soft toothbrush for stubborn spots
Now follow these steps:
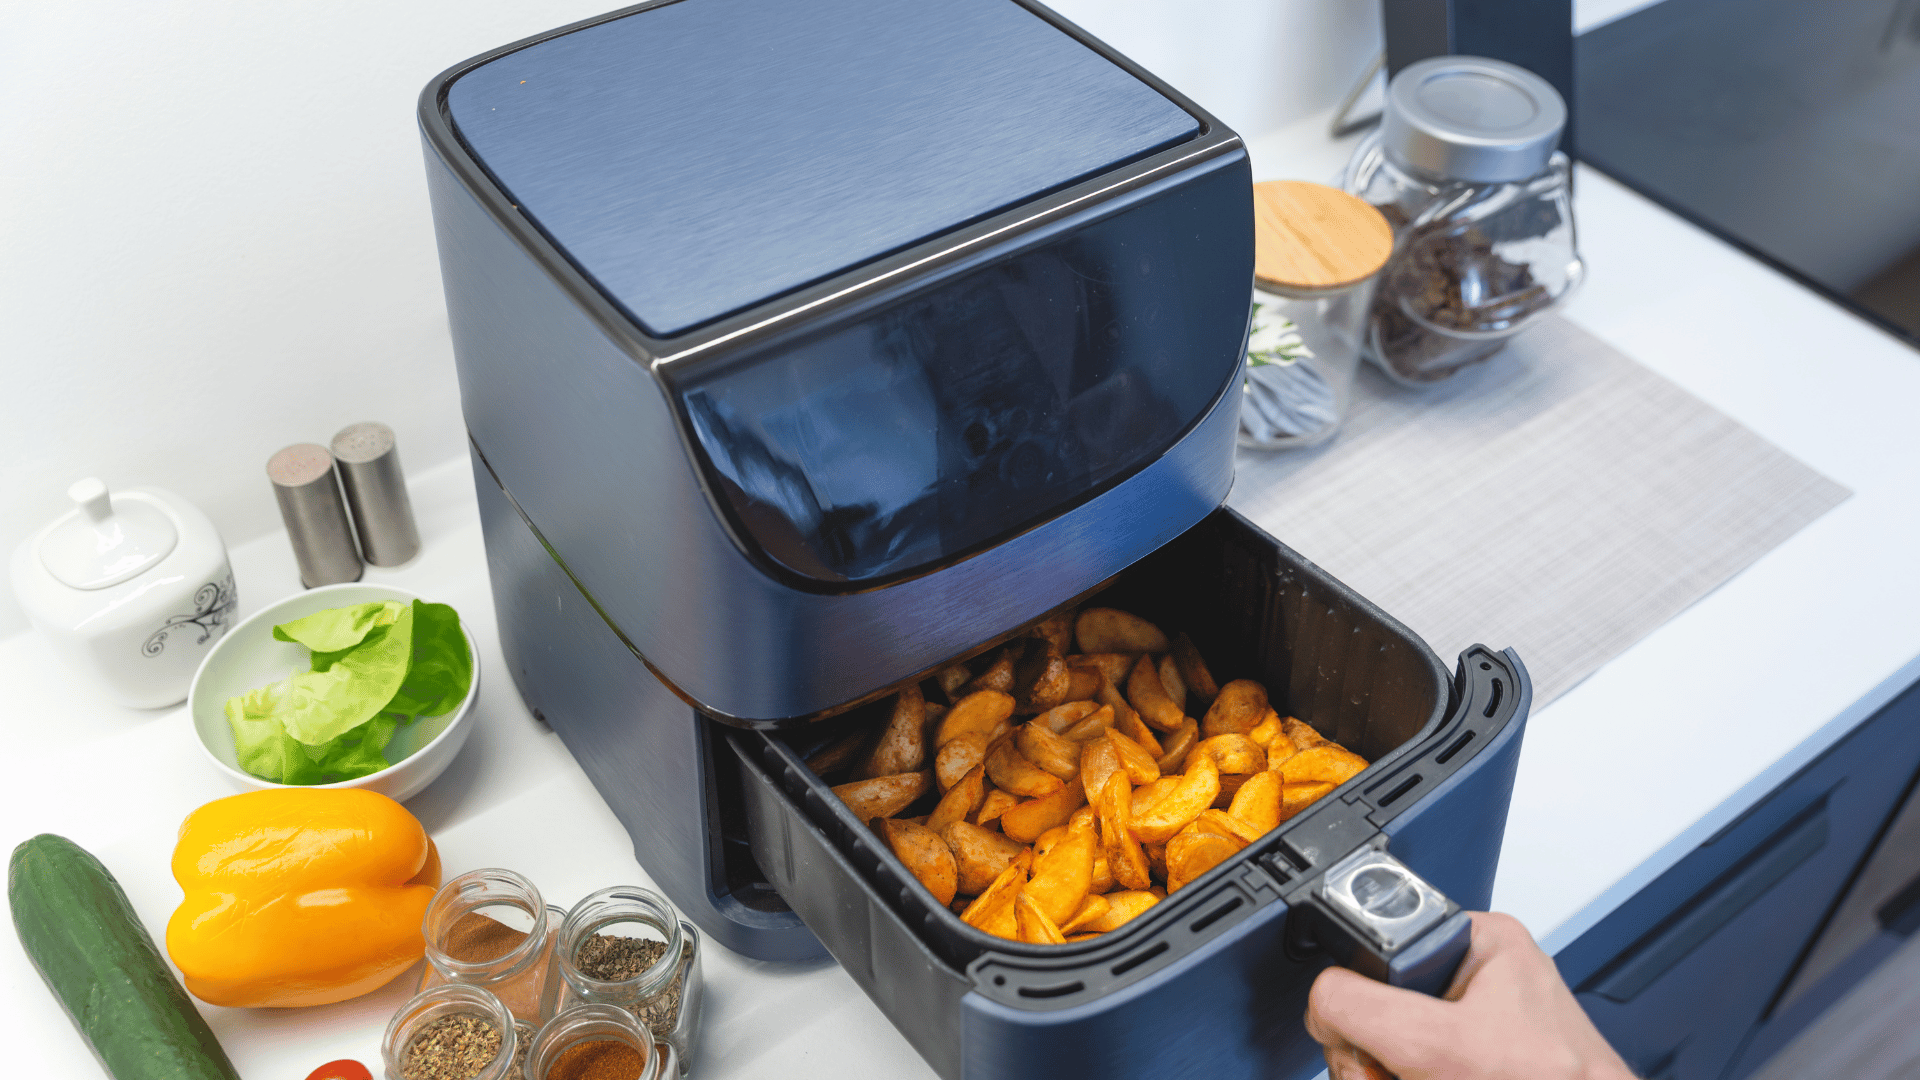
Step 1: Remove the basket and the drawer.
Step 2: Place a towel on a flat surface and carefully turn the air fryer upside down.
Step 3: Locate the heating coil and the surrounding metal surface.
Step 4: Gently wipe away grease residue with a lightly dampened cloth.
Step 5: For hardened grease, use a toothbrush with very light pressure.
Step 6: Wipe once more with a clean, damp cloth.
Step 7: Let the air fryer air-dry fully before turning it upright.
While doing this, just keep a few things in mind. Don’t spray water directly inside the unit, and don’t use any harsh scrubbers or metal tools. And please don’t try to remove the heating element.
Why the Air Fryer Won’t Turn On
The next common issue people face is that, even when the air fryer powers on, it won’t cook or displays an error. In most cases, the issue is not electrical. Most modern air fryers have a basket safety sensor that prevents the machine from running unless the basket is fully inserted and locked. Even if it is slightly misaligned, the air fryer won’t start working.
Here’s what to do:
- Pull the basket out completely
- Reinsert it slowly and firmly until it sits flush
- Make sure it’s not overloaded, as excess weight can affect alignment
- Wipe the basket rails and slot; grease buildup here can interfere with contact

In most cases, this does the job.
Getting Time and Temperature Right
Uneven cooking or burnt food is rarely a hardware issue with air fryers. They heat faster and more aggressively than ovens, so even a small change in time and temperature makes a big difference, especially when you’re cooking Indian food.
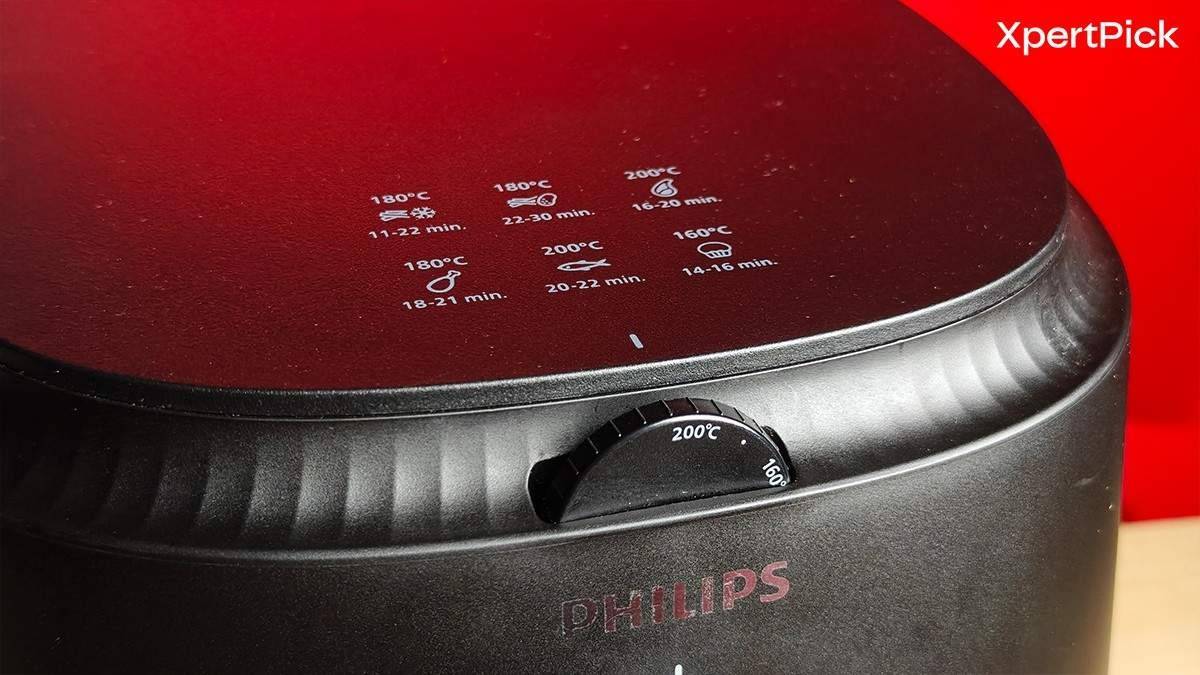
Just remember this thumb rule: lower temperatures work better for reheating food, while higher temperatures are to be used for cooking and crisping.
Here’s a quick time and temperature reference for you:
Reheating
- Samosa: 160°C × 5 minutes
- Kachori: 160°C × 6 minutes
- Spring Roll: 160°C × 5–6 minutes
- Pizza Slice: 170°C × 4–5 minutes
- Bread Roll: 160°C × 5 minutes
Snacks & Street Food
- Pakora: 170°C × 6–8 minutes
- Bread Pakora: 160°C × 6 minutes
- Cutlet / Tikki: 180°C × 8–10 minutes
- Frozen Nuggets: 180°C × 10–12 minutes
- Frozen French Fries: 180°C × 12–15 minutes
Grilled / Tandoori-Style
- Paneer Tikka: 180°C × 8–10 minutes
- Chicken Tikka (Boneless): 180°C × 10–12 minutes
- Fish Tikka: 180°C × 8–10 minutes
- Soya Chaap: 180°C × 10 minutes
Baking
- Cake (6-inch): 160°C × 25–30 minutes
- Cookies: 160°C × 10–12 minutes
- Brownies: 160°C × 18–22 minutes
If the Air Fryer Still Won’t Work
Occasional glitches are common when you have been using the air fryer over time for long cooking cycles.
Try a Reset First
If the display freezes, buttons stop responding, or the air fryer shuts off mid-cycle:
- Unplug the air fryer
- Wait 10–15 minutes
- Plug it back in and restart
This should clear temporary sensor or control-board errors.
When You Should Call for Service
Call an authorised service centre if:
- Error codes persist after a reset
- The air fryer overheats repeatedly
- There’s visible sparking or a strong burning smell
- The unit won’t power on at all
What to Remember
In most cases, the air fryer problems aren’t that big; they are just signs that your appliance needs a bit more attention. And once you understand how the air fryer works and what to watch out for, maintaining it becomes simple. Small things like regular cleaning, correct basket placement, and better temperature control not only improve cooking results but also help the air fryer last longer. Oh, and one last thing, don’t throw away the manual, you never know when it might come in handy.


